With Windows 11 launching and our software not compatible with it yet, I’ve decided to create this article to help you understand how you can easily go back to the previous version or upgrade to a specific version of Windows.
There’s no need for USB drive CD drive, USB drive, or anything else. Download and go!
Simply click this link to choose the Windows version you would like to download (Windows 10 and higher is suggested)
LINK
Follow the directions for installing regular windows (you can choose to keep your data as well)
I hope this will help you get back to the version of Windows you’re looking for, and when you’re done, make sure you go to the settings for window security and update, and stop windows updates so that it doesn’t upgrade you to Windows 11!
This is the option I personally would make for re-installing, updating or downgrading my Windows:
How to Downgrade Windows 11 to 10
Here are the steps on how to downgrade Windows 11 to Windows 10:
Within 10 Days of Upgrading:
Check for the “Go back” option:
- Go to Settings > System > Recovery.
- Under Recovery options, look for the “Go back” button. If it’s available, you can directly revert to Windows 10.
Follow the prompts:
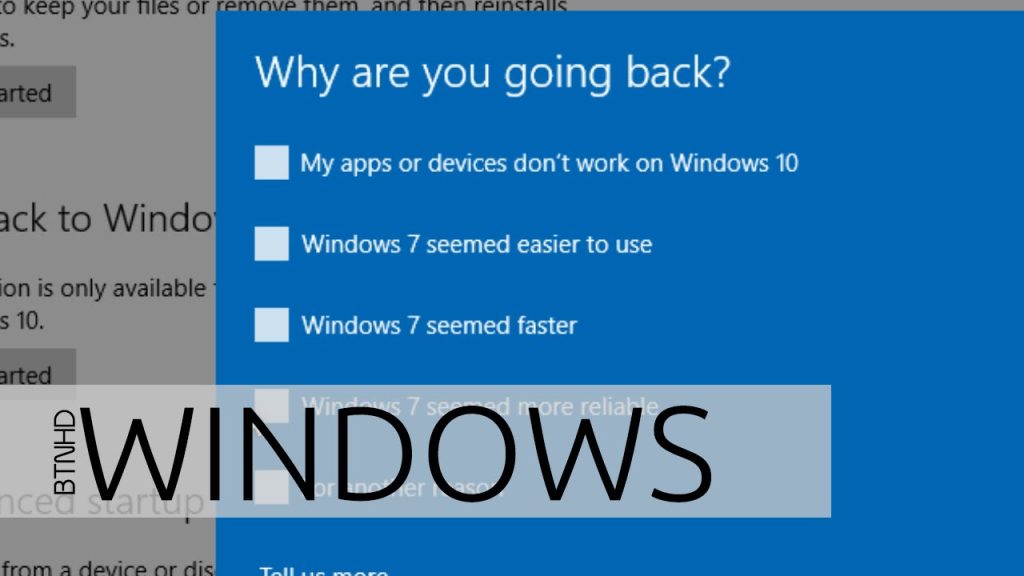
- Select a reason for downgrading.
- Make sure you know your Windows 10 password.
- Click “Next” and follow the on-screen instructions.
After 10 Days of Upgrading:
Create Windows 10 installation media:
Back up your important files:
- Create a backup of your personal files, as the clean installation will erase your data.
Boot from the installation media:
- Insert the USB drive or DVD and restart your PC.
- Press the appropriate key (usually F12, F2, or Del) to access the boot menu.
- Select the installation media to boot from.
Install Windows 10:
- Follow the on-screen instructions to install Windows 10.
- When prompted, choose the “Custom: Install Windows only (advanced)” option.
- Select the drive where you want to install Windows 10 (usually the C: drive).
Additional Considerations:
- Activation: Your Windows 10 license should automatically activate after the downgrade.
- Drivers: Make sure to download and install the necessary drivers for your hardware after downgrading.
- Third-party software: You might need to reinstall any third-party software that was not compatible with Windows 11.
Key Points:
- The “Go back” option is only available for 10 days after upgrading to Windows 11.
- If you’re outside the 10-day window, you’ll need to perform a clean installation of Windows 10.
- Always back up your important files before any major system changes.
How to Downgrade Windows Version
Here’s a general guide on how to downgrade Windows, but the specific steps may vary depending on the versions you’re switching between:
1. Check for the “Go back” option (within 10 days of upgrade):
- Go to Settings > System > Recovery.
- Under Recovery options, look for the “Go back” button. If it’s available, you can directly revert to the previous version.
- Follow the prompts to complete the downgrade.
2. Create installation media (if “Go back” isn’t available):
- Download the installation media creation tool for the desired Windows version from Microsoft’s website.
- Run the tool and create a bootable USB drive or DVD.
3. Back up your important files:
- Create a backup of your personal files, as the downgrade process might erase your data.
4. Boot from the installation media:
- Insert the USB drive or DVD and restart your PC.
- Press the appropriate key (usually F12, F2, or Del) to access the boot menu.
- Select the installation media to boot from.
5. Follow the installation instructions:
- Once booted from the installation media, follow the on-screen instructions to install the desired Windows version.
- Choose the “Custom: Install Windows only (advanced)” option when prompted.
- Select the drive where you want to install Windows (usually the C: drive).
Additional considerations:
- Activation: Your Windows license should automatically activate after the downgrade, but it’s best to have your product key handy just in case.
- Drivers: Make sure to download and install the necessary drivers for your hardware after downgrading.
- Third-party software: You might need to reinstall any third-party software that was not compatible with the newer Windows version.
- Data loss: Downgrading can sometimes lead to data loss, so it’s crucial to create a backup before proceeding.


![Garena Free Fire Max Redeem Codes [NEW UPDATED!]](https://www.kredibulten.com/wp-content/uploads/2024/01/Garena-Free-Fire-Max-Redeem-Codes-300x169.jpg)